
Posted by Katie smith / 12/08/2012 / 10 Comments / Christmas , crafting , tutorial
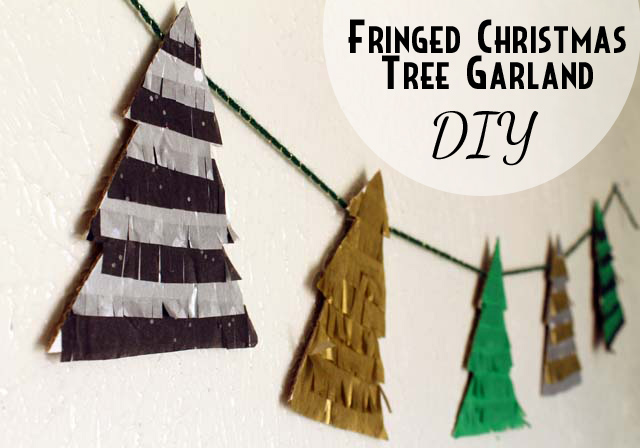
Fringed Christmas Tree Garland DIY
I had tissue paper from Taylor's graduation party still laying around, and since her school color was emerald green (which is also Pantone's official color for 2013!) the tissue paper colors are also Christmas colors!
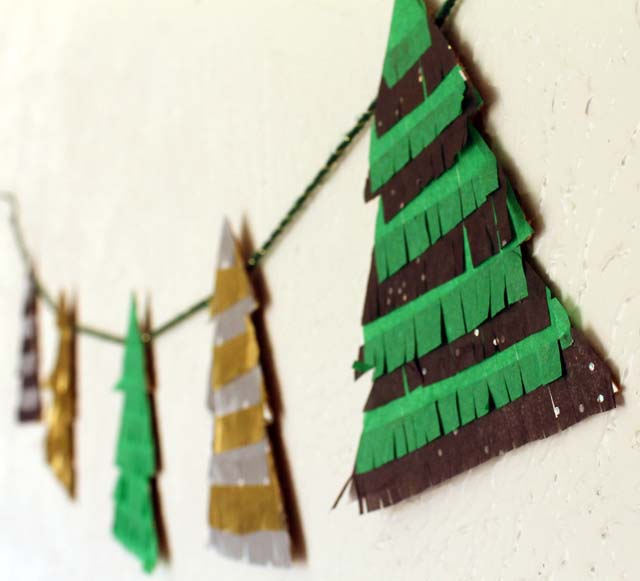
I thought a garland made from miniature Christmas trees would be festive, and fringe just sounded like a good idea. Haha.
Supplies: Thin Cardboard or Chipboard, X-acto Knife, Tissue Paper, Glue Stick, Scissors, Yarn
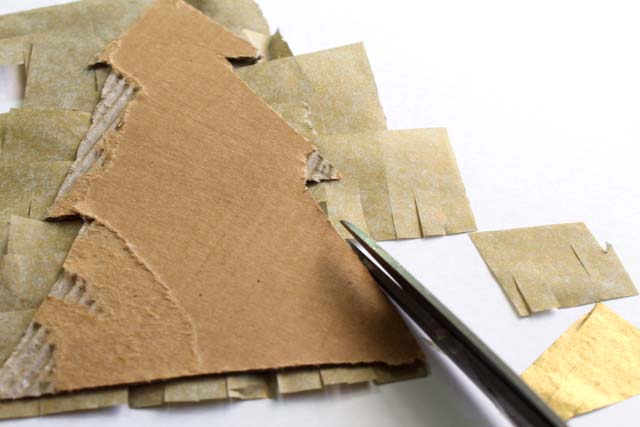
1. Cut 5 (or more!!) trees from your cardboard using an x-acto knife.

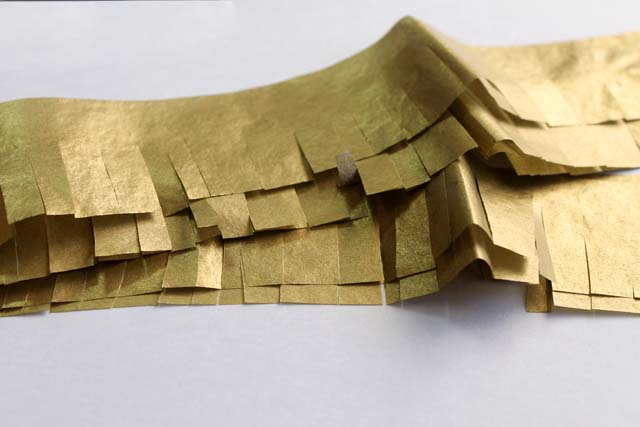
2. Cut you tissue paper into 2" wide strips, snip along one side with scissors to make it fringed.
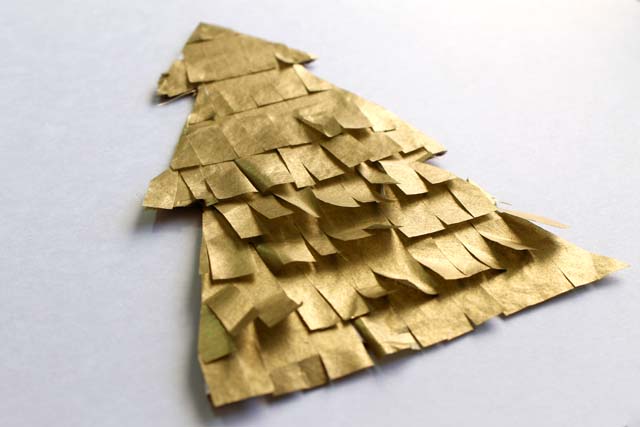
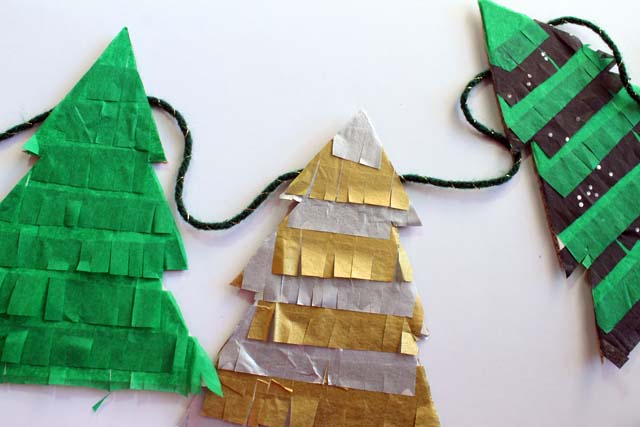
3. Starting at the bottom of one of your trees, glue tissue paper strips to it. Continue until you get to the top. Feel free to mix up the colors of tissue paper, creating stripes, etc.
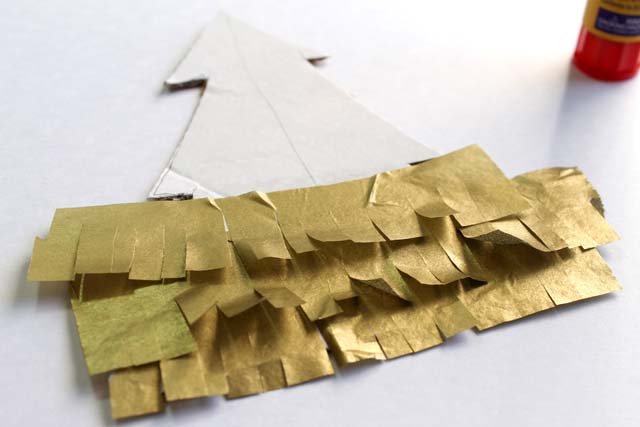
You want the tree completely covered in tissue paper:

4. Flip your tree over, and trim away any tissue paper hanging off the edges of the tree.
5. Repeat with the other trees.
.JPG)
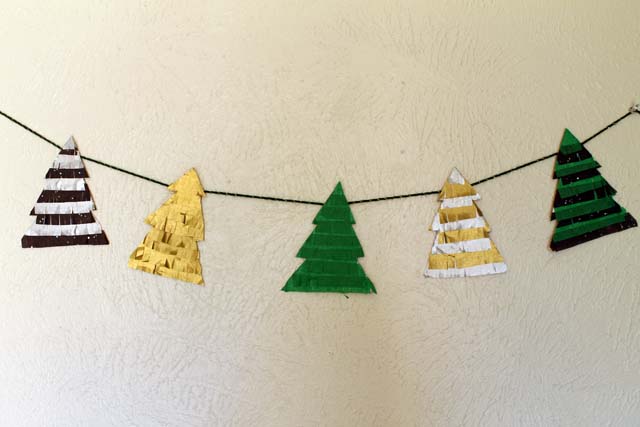
6. On the back sides of your trees, use a strong adhesive to attach them to a piece of yarn (The length of the yarn should be however long you want your garland.)

Subscribe to:
Post Comments (Atom)


Super cute trees! I love the fringe. =)
ReplyDeleteThanks!
Deletethat is so freaking cute!!! what a great idea!
ReplyDeleteThank yooou! I knew you'd like the fringe. :)
DeleteWhat a great idea, and so cute! I love how you used recycled items to create something fun and useful.
ReplyDeleteValerie
Everyday Inspired
Thanks!
DeleteKatie these are gorgeous!! :D
ReplyDeleteAwesome job! :)
thanks!
DeleteOoh.... I love these! Where in the world can you buy fringe? Party store? I'd love that for my graduation!
ReplyDeleteI don't know where you could buy the fringe. I actually just used tissue paper and snipped along one side of it.
Delete